Everything that you need to know about the AQA log book…
This guidance aims to demystify the whole process. If it doesn’t, then talk the log book through with your supervisor in one of your meetings—or contact me.
Download it and set it up
First, you need to download the log book, if you haven’t already done that.
If you have Microsoft Word on your home PC/laptop, then you can also set it up on the cloud, Office 365. This is a bit clunky to do, but when it’s done, the log book will be easier to manage.
Note that you can’t actually edit the log book on Office 365…see the guide for more details.
Links to the AQA log books (2020/2021 versions)
The three log books are virtually identical. The EPQ one is slightly less pre-structured in places.
You do not need to print the log book. At the end of your project, email it to your supervisor.
The purpose of the log book
The ‘log book’ is actually three documents combined into one:
- Candidate record form
- Production log
- Assessment record form
That’s why the log book is 14 pages and almost 2,000 words before anyone has filled it in!
Three people write (electronically) in the log book:
- You
- Your supervisor
- The centre coordinator (i.e. me)
That means that you only need to fill some of it in.
So, what’s the point of the log book? There are three main points:
- To record factual information about you and your project
- For you to give a reflective account of your project journey
- For your supervisor to record and explain marks awarded
Note that our students and supervisors have sometimes found the AQA log book to be an intractable document. The boxes don’t always expand, and pages don’t always follow on. Different versions of Word (e.g. the Apple version) have a very odd effect on the formatting of the document! So you’ll need to be patient with it.
Finally, remember that the log book is completed at different stages of your project. Fill it in as your project develops. Be as detailed, thorough, and reflective as you can.
You may wish to discuss your log book entries with your supervisor and elicit advice on how you can make them stronger.
Page 1
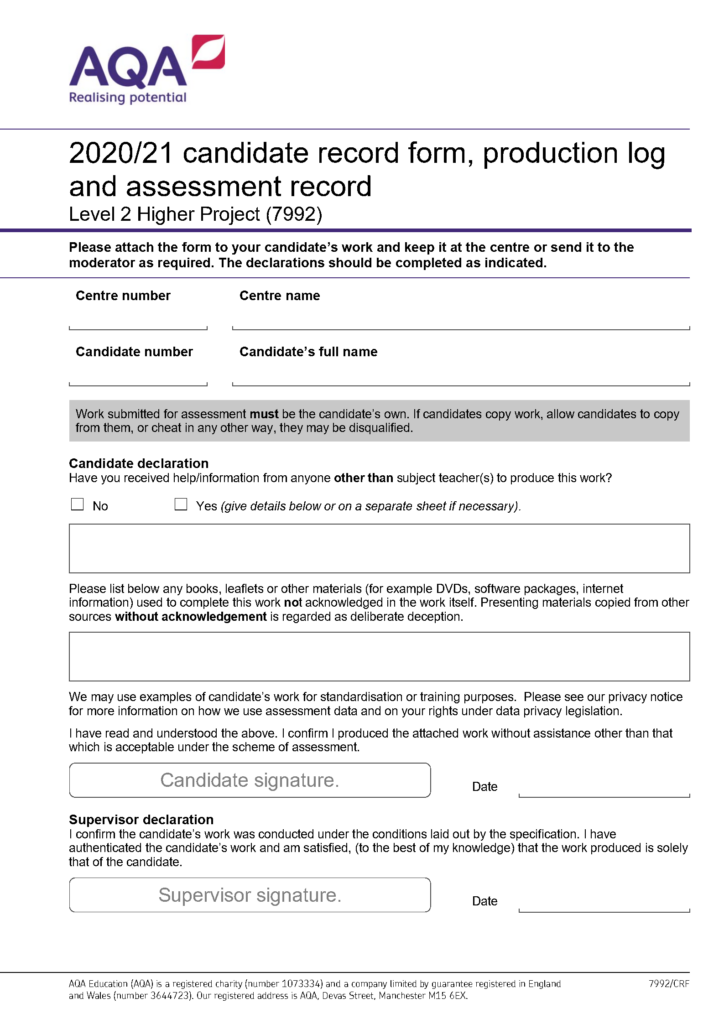
Bits you fill in at the start (page 1)
The centre number is 14217. The centre name is the school name.
Your candidate number is the four digit number given to you by the exams’ officer. If you know this, you can include it. If not, leave it and your supervisor will fill it in.
The candidate name is your forename (first name) and surname. (You only need to include your middle names if there is another student in our school with the same forename and surname as you.
Bits you fill in at the end (page 1)
The rest of the document is filled out at the end of your project.
The candidate declaration is for you to fill in. If you’ve been given any extra assistance from anyone apart from me, your supervisor, or teachers at the school, tick ‘yes’ and describe what assistance you were given. You only need to include assistance that’s made a material difference to your project.
If you’ve used any sources that you’ve not referenced anywhere else in your project, then add it to the second box. Only do this if you haven’t referenced it somewhere else in your project. So ideally this box will be left blank because everything will be referenced already.
You and your supervisor will need to sign the printed version of the log book when the whole project is finished.
Page 2: Submission checklist
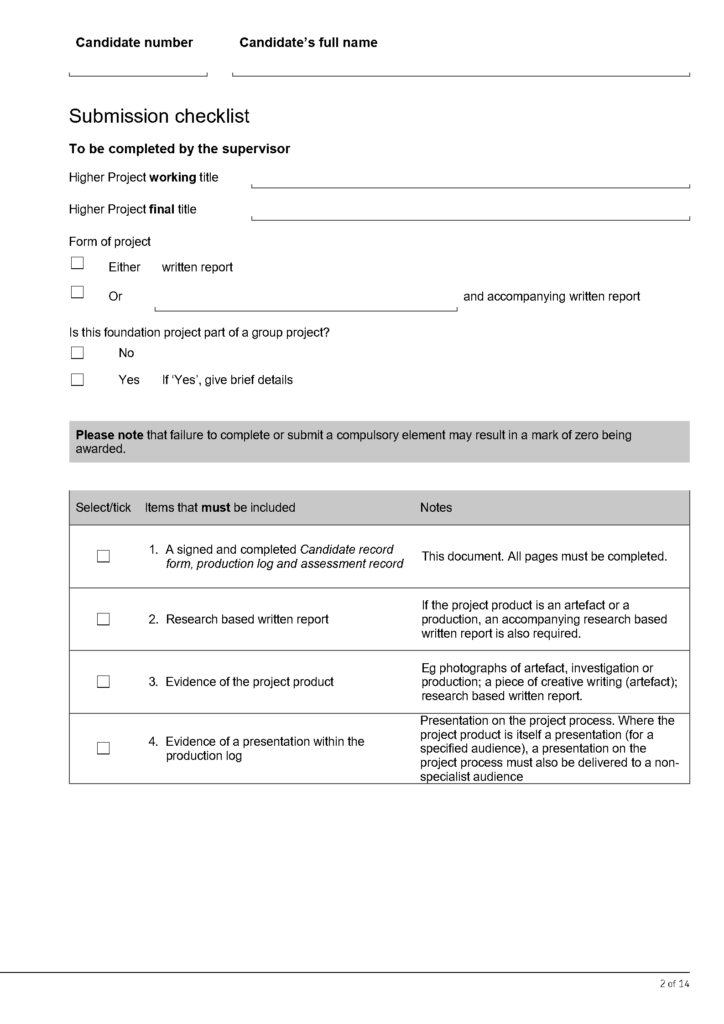
You don’t need to do anything on page 2.
Your supervisor fills in page 2, at the end of your project. They make a note of your working title (i.e. the first title you formulated). They then make a note of the final title.
This should match the title on the mid project review page of the log book (page 10) and in the project presentation evening booklet.
They also indicate the type of project you’ve done (e.g. if you’ve created an artefact) and whether you’ve worked on your own or in a group.
Finally, they tick four boxes to make sure you are submitting the compulsory elements:
- the completed and signed log book
- evidence of your presentation e.g. the PowerPoint slides
- the written essay/report
- and, if you created an artefact, evidence of that e.g. photos
You can, though, add your candidate number and your first and full name to the header row. It should appear on every page of the log bog from this point onward.
Page 3: Taught skills

This page is for the supervisor to fill in at the end. They will copy and paste general statement about the taught programme that year e.g.
“Project planning; project management techniques; literature search tools; selecting resources; academic literacy; Harvard referencing; the annotated bibliography; reflective writing; self-care; presentational techniques; project review.“
The supervisor will add details of any further skills you have been taught, where applicable.
Page 4: Record of marks
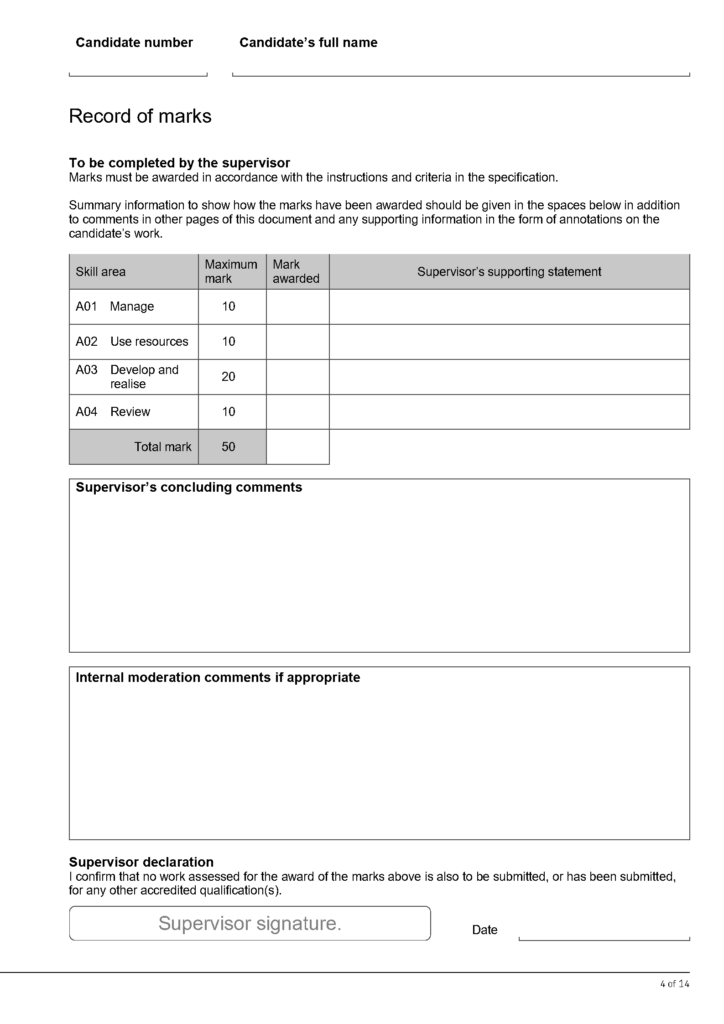
This page is for the supervisor to complete at the end of your project. They add marks for each assessment objective in the third column of the top table, alongside supporting statements on the right hand side.
They then total up the four marks to award a final mark out of 50, and they make a (normally detailed) comment about your project as a whole.
The bottom box is for me to fill in at the end.
The supervisor signs at the bottom to make sure that no dual accreditation is taking place i.e. that you are not taught the subject matter in the curriculum. Again, they do this at the end of the project.
Page 5: Record of initial ideas
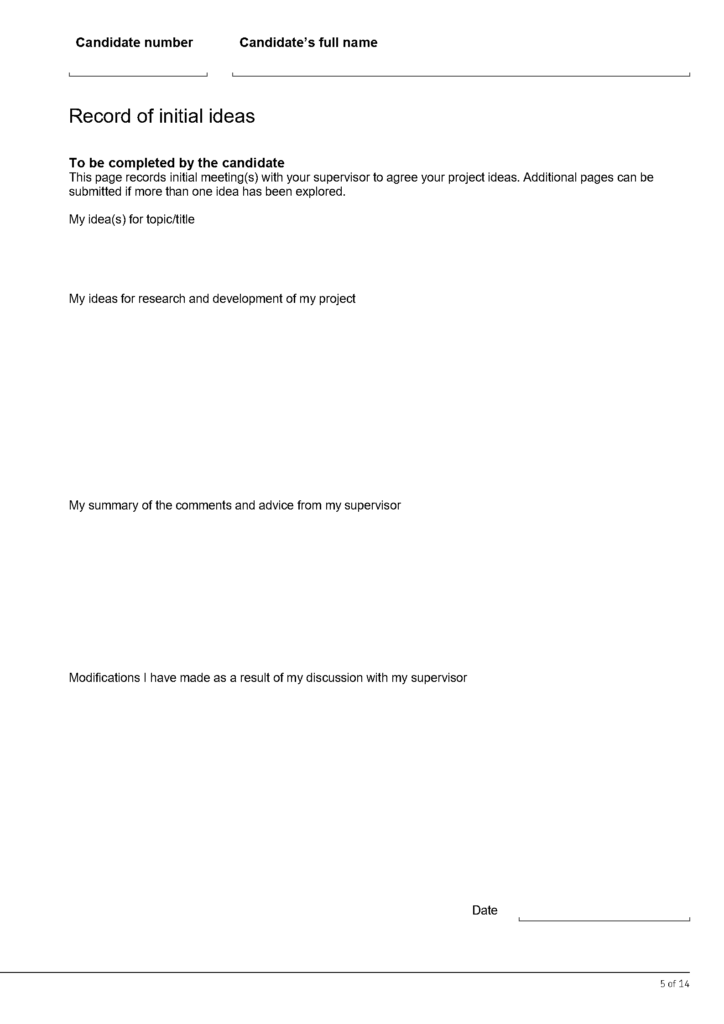
A chance for you to record your initial ideas. These definitely don’t have to bind you! Often, ideas are exploratory and highly tentative at this stage.
You can fill the first two parts in before your first (main) meeting with your supervisor. It would be a good idea to forward what you write on those two pages to your supervisor in advance of that meeting.
The log book makes it clear that you can use additional pages if necessary e.g. if you have more than one idea.
You’ll notice these two lines repeat themselves a few time across the book:
(1) My summary of the comments and advice from my supervisor
(2) Modifications I have made as a result of my discussion with my supervisor
To help you fill this in, we suggest that, with your supervisor’s permission, you audio record the meetings you have on your mobile device. This will help you fill these sections in. Of course, recordings should be used for project purposes only.
The way that you fill in these sections should foreground your independence. So, in section (1), describe your supervisor’s advice in general terms, and in section (2), describe your ensuing actions more specifically.
Page 6: Candidate proposal
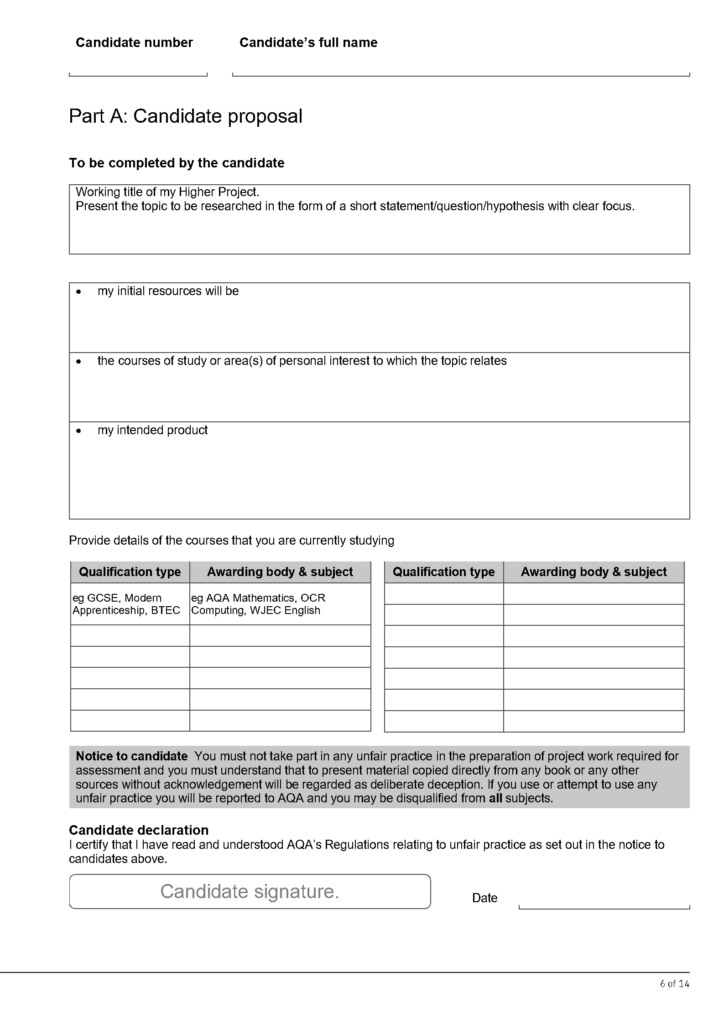
This page is for you to fill in.
1. In the first box, write your title. The title is a working title—so it might change.
2. In the next box, you need to identify specific resources that you intend to use. General statements such as ‘Books, websites, and videos’ are pretty much worthless and suggest that a candidate hasn’t given much thought to their proposal. Instead, list some initial resources. About 3 to 7 is ideal. If you know how to Harvard reference them, please do. If you don’t, just include basic details about the source: the author, the title, and the type of source e.g. website address.
3. In the third box, explain why the topic you are focusing on is important—to you, or more broadly. If there’s a link to what you are studying in the curriculum, then you should make this link clear here.
4. In the next box, describe the type of product you wish to produce. For most students, it is usually ‘An essay of at least X,000 words’ (1,000 words for the FPQ, 2,000 words for the HPQ, and 5,000 words for the EPQ). But if you intending to create something, e.g. an artwork, make that clear. If you are undecided, you might describe what you options you are weighing up. Nothing you write binds you. Just make your thinking clear.
That just leaves this:
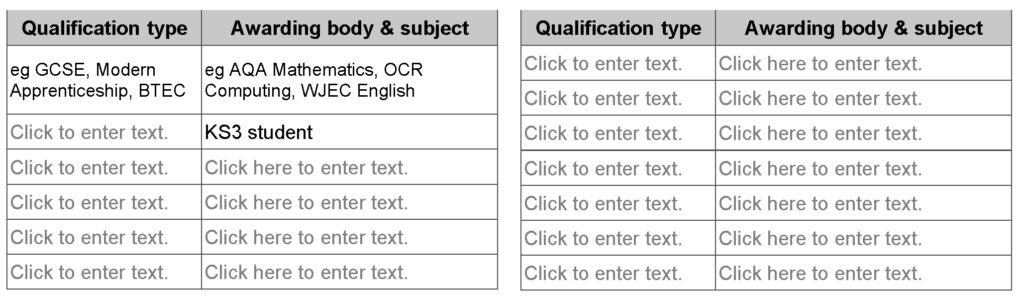
If you are in Years 7, 8, or 9, just write ‘Key Stage 3 student’ or ‘KS3 student’ once.
If you are in Years 10 and 11, you need to list the courses you are currently engaging in. I’ve filled in the RS line here:

And if you are in Years 12 and 13, you need to the same, but for any courses you are currently undertaking.
The point of this is to stop dual accreditation: doing a project on something you’re going to be examined on in another subject. (Note that you can do a project on something you are taught so long as you have extended yourself beyond what you are taught. Discuss with me or your supervisor if you are not clear.)
Page 7: Supervisor’s comments
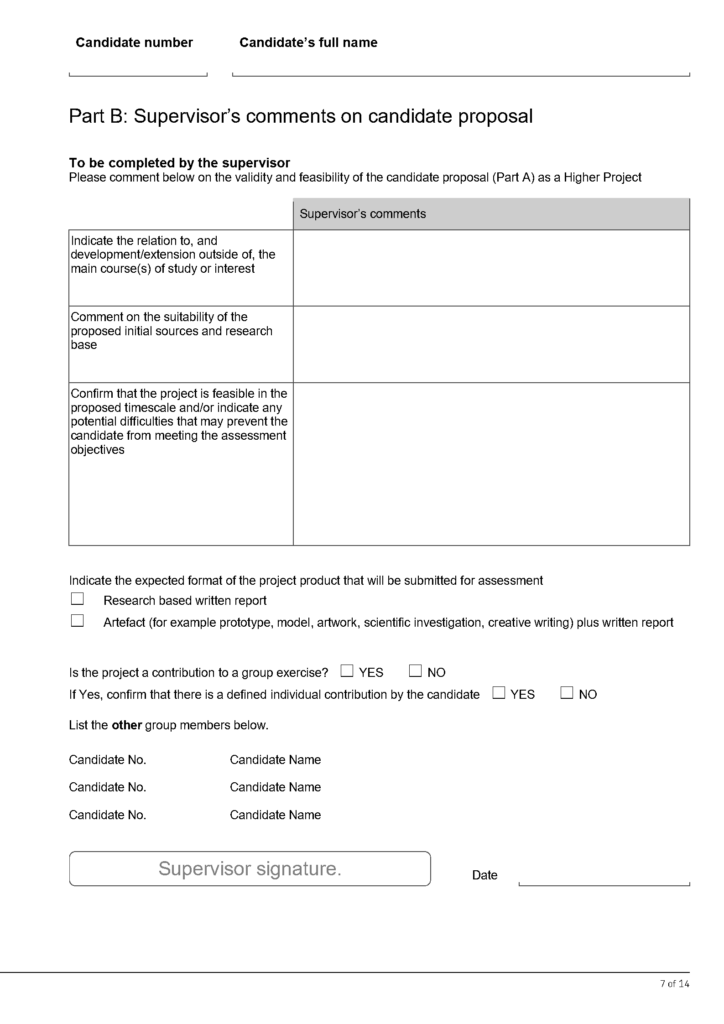
When you’ve completed page 6, and when you’ve finished the final draft of your separate project proposal document, email both the log book and the proposal document to your supervisor. If you’ve set up your log book on the cloud (Office 365), then you obviously don’t have to email the version over. They’ll then fill in the three table cells on page 7:
1. They comment on how your project relates to your current studies and other interests.
2. In the next box, they say whether they think you’ve found good initial sources.
3. Finally, they comment on whether they think your project is likely to work—and whether they think there are any problems you are likely to encounter.
After this, they indicate (a) whether you intend to write an essay or create an artefact and (b) whether you’ll be working in a group.
Page 8: Coordinator’s approval

Once your supervisor has filled in page 7, they email your separate proposal document to me (along with the log book if it’s not set up on the cloud).
I then read everything, and I add some comments to the log book. My job is to try to work out whether your proposal is appropriate e.g. that you are going to be safe doing the project you’ve planned.
- If I tick the ‘Approved‘ box, that means you can proceed with your project.
- If I tick the ‘Resubmission required‘, that means I don’t think your proposal is quite ready yet, and you need to some more work on it. I’ll have explained why in the box above.
- If I tick the middle box, then you can proceed with your project, but you must act on the advice that I’ve given. This is usually the case for technical projects involving health and safety issues.
When I’ve finished, I’ll send you an email message to say so.
Page 9: Planning review
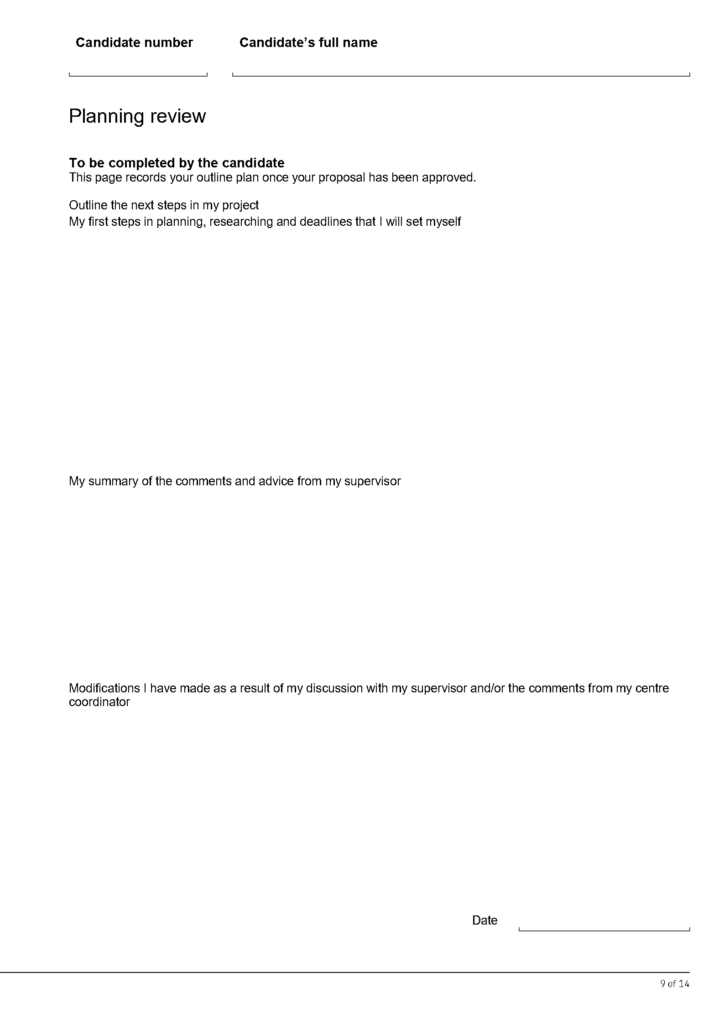
Once I’ve approved your proposal, you should meet with your supervisor to discuss the next steps. You should also talk through the comments that I’ve made.
After that meeting, you fill in page 9 of the log book. It’s called ‘planning review’ because you, well, review your plan! Audio recording the meeting that you have with your supervisor will help you fill in this page fully.
Page 10: Mid-project review
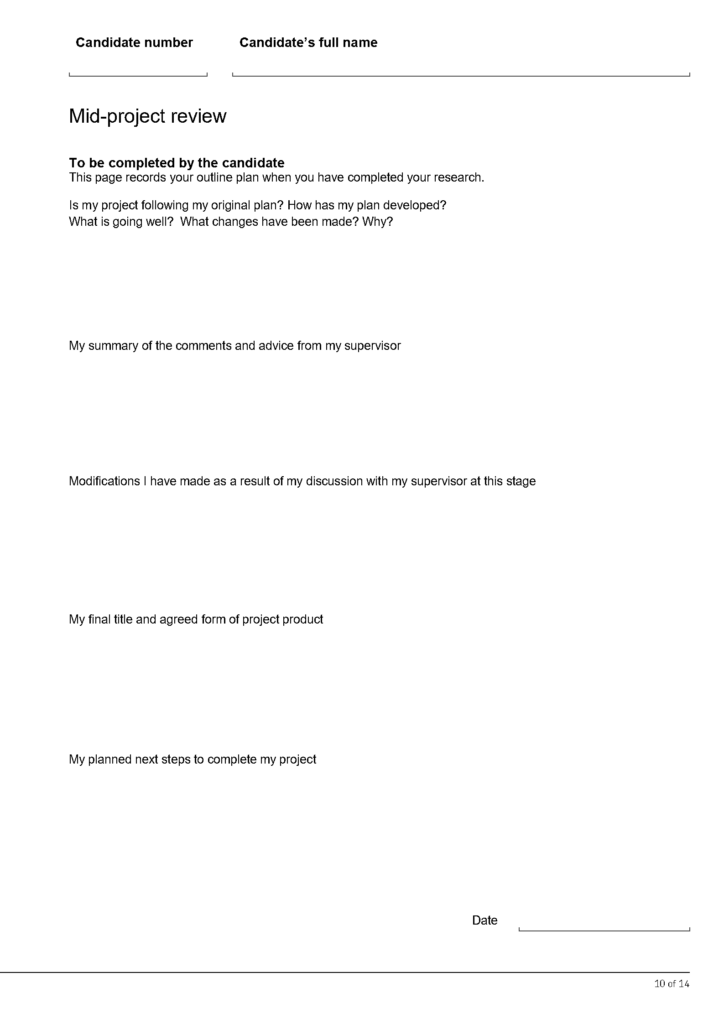
About midway through your project, you need to complete a thorough mid-project review. You’ll normally be given the opportunity to do a mid-project review presentation to your class/small group. You’ll also be expected to write a more detailed, separate review of your progress so far.
In addition to those things, you should meet with your supervisor for a formal mid-project review. Again, my suggestion is that you audio record that meeting to help you fill in the log book fully.
You must record your final title and agreed form of your project (essay, artefact, performance, etc.) After this, these things should not be changed!
Page 11: Project product review
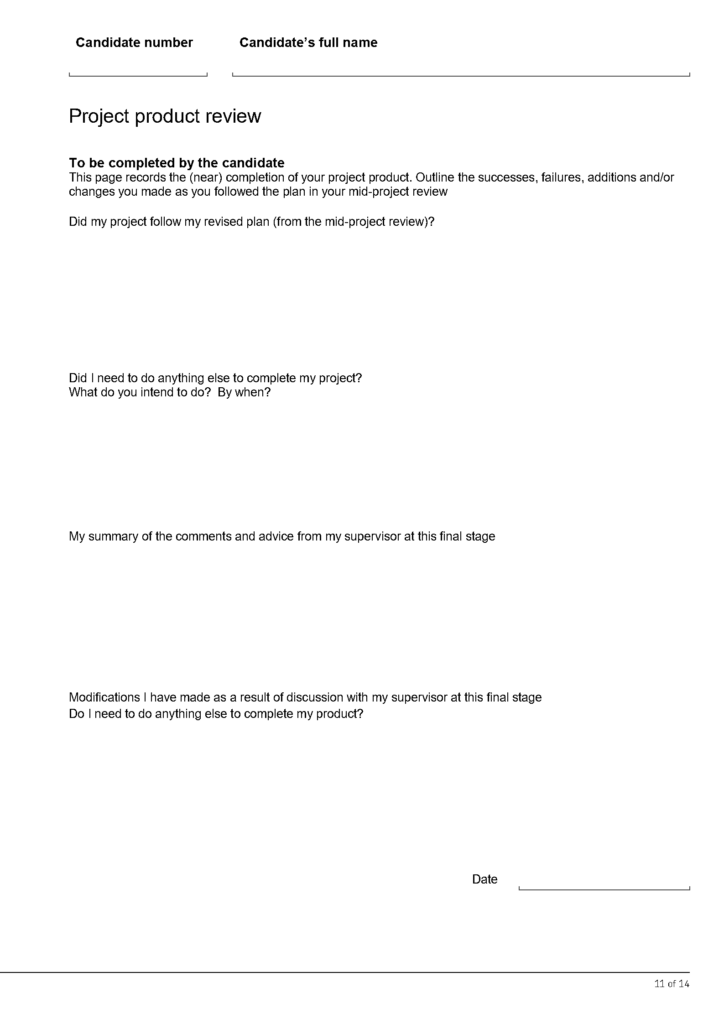
Page 11 is for you to fill in. You fill it in near the end of your project. Again, you need to have had a formal meeting with your supervisor to fill this page in well.
Page 12: Presentation planning record
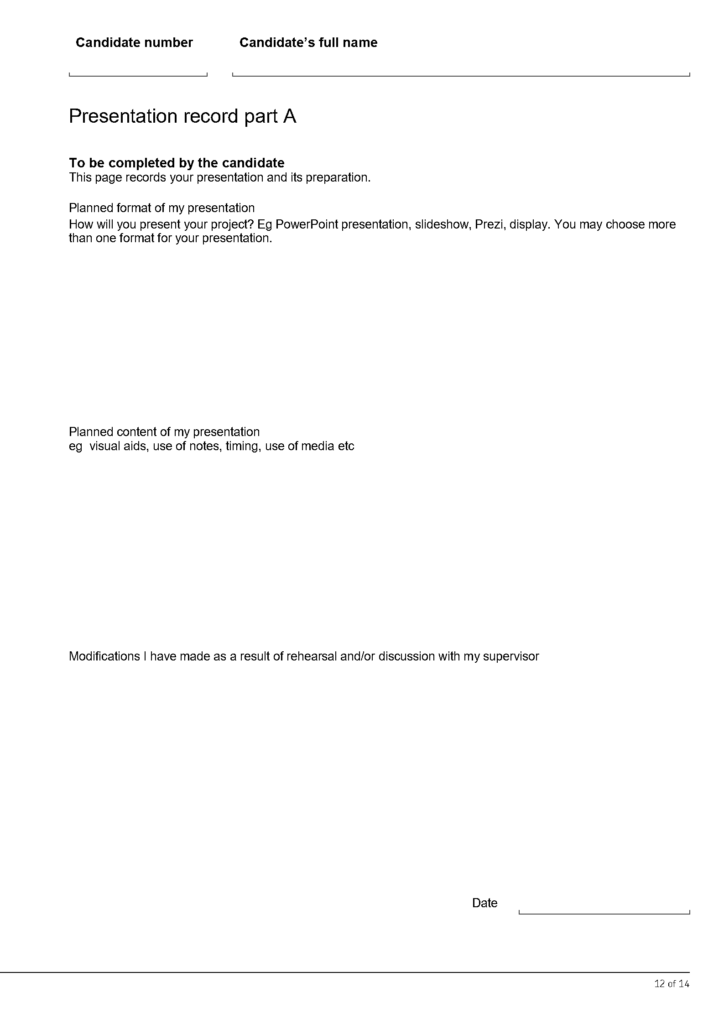
Page 12 is also for you to fill in. It’s about your preparation for presentation evening. You fill part of it in after you’ve rehearsed it with your supervisor and obtained some feedback.
Page 13: Presentation comments by supervisor
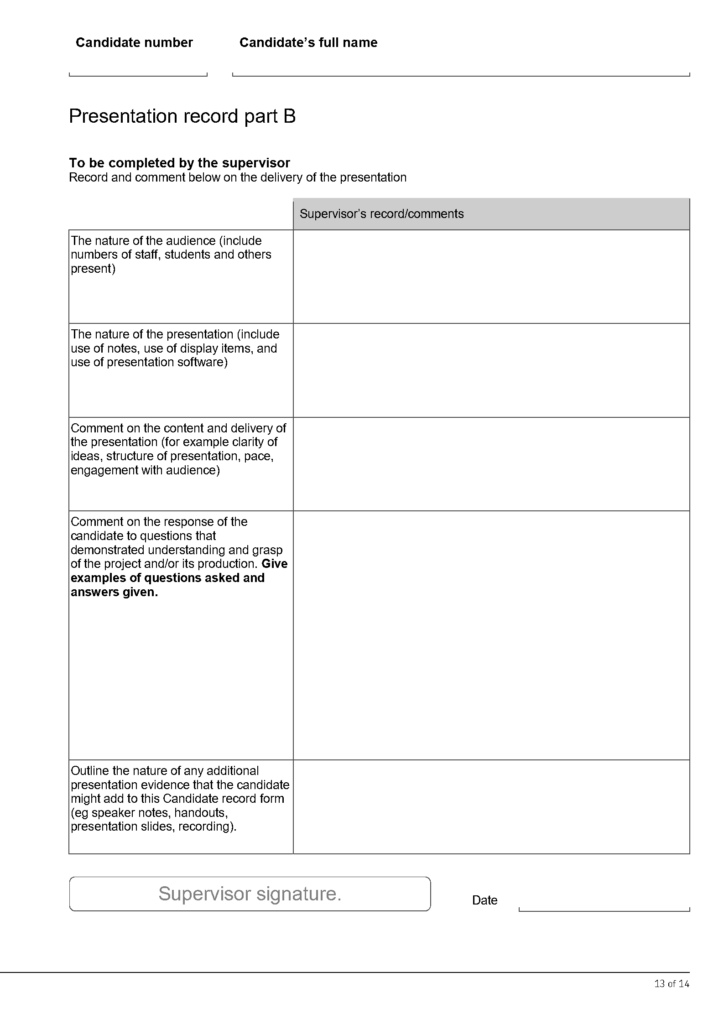
Your supervisor fills in this page. An example of a completed presentation record part B:
On the evening, supervisors and chairpersons fill in a more detailed, two page sheet, which we normally include in the log book:
Page 14: Summary and reflection
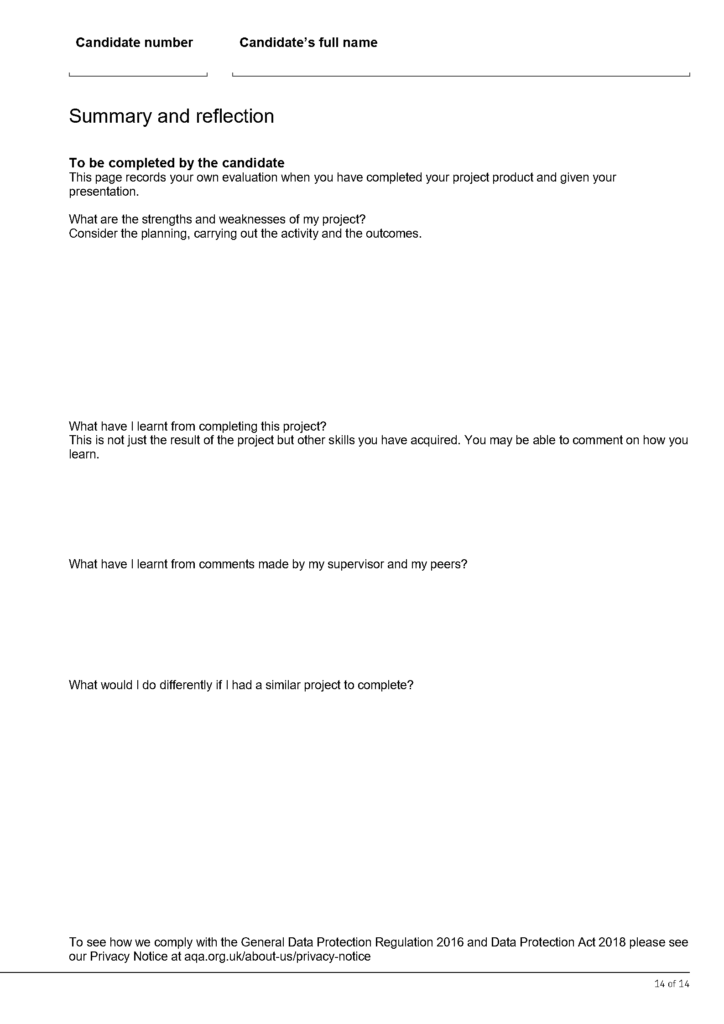
You fill this page in at the end of the project. You need to evaluate all aspects of your project.
This page needs to be supplemented by a separate project review document.
An example of a completed log book
An example of a log book completed to a good standard. I’ve redacted (removed) some details.
Log book tips
(1) Add to it after your meetings with your supervisor.
(2) Audio record your meetings with your supervisor.
(3) Describe the feedback from your supervisor in general, rather than specific, terms.
(4) Consistently italicise all of your comments in the log book. That separates your comments from the text already in the log book.
(5) Get feedback on your log book entries from your supervisor before your finalise them..
(6) Set up the log book on Office 365 and open through Microsoft Word if installed on your home PC.
(7) Write reflectively, not just descriptively. Giving reasons—or reasoned arguments—for your decisions is important.
(8) Don’t repeat in the log book what you write in other documents. Instead use a simple cross referencing system, for example: